What is Nessus?
Nessus is a vulnerability scanner like OpenVAS. Nessus scans your target for open ports, wrong file permissions, known vulnerabilities, etc. Everythinig is presented in a good-looking and clear GUI with nice additional features like report exporting, different presets for specific scans and monitoring.
Install Nessus
First of all, you have to register a free account on the tenable website, you’ll need this for the activation code and download there the installation file for your OS. In case you install Nessus on your Kali-VM or system you have to download the Debian file.
Go tot he path where you saved the file and install it manually. For example here on Kali/Debian:
sudo dpkg –i Nessus-8.12.1-debian6_amd64.debAfter the installation is finished start Nessus with the command:
sudo systemctl start nessusd.serviceSetup Nessus
To access Nessus-GUI open your browser and connect to your local-ip with the port 8834.
For example: https://192.168.101.101:8834
On the first start, we have to set up our Nessus instance, select Nessus Essentials and then continue, skip the next page will bring us to the registration page where we insert the activation code that we’ve got from the Nessus Website. After this create your user and submit. Nessus will now install all needed plugins and make it ready to start.
The GUI
After all is finished we can access the Nessus-GUI.
First look, Nessus doesent look special, but lets figure out what makes it special.
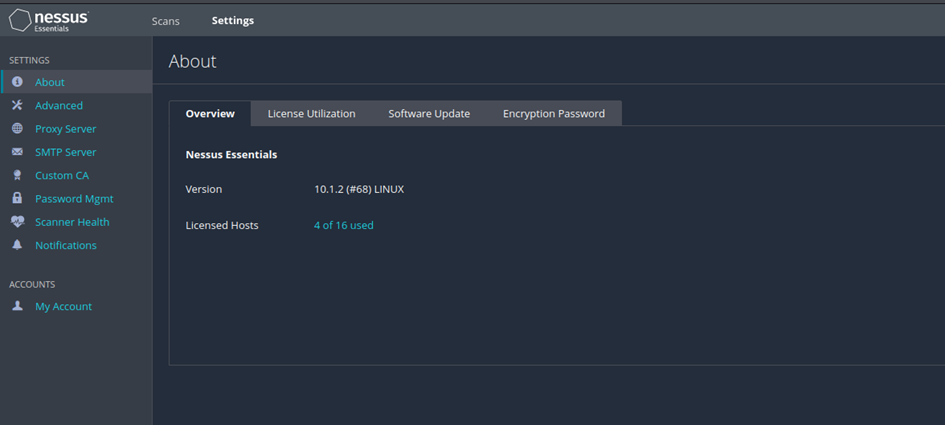
Settings
At the settings tab you can view your license and how many scans are still available in the limited license, the expire date and so on.
The advanced section gives us the possibility to modify the settings of our scans, user interface, logging and performance. The possibilities are so wide that I refer to the Nessus documentation. This explains very well what is behind the individual setting options.
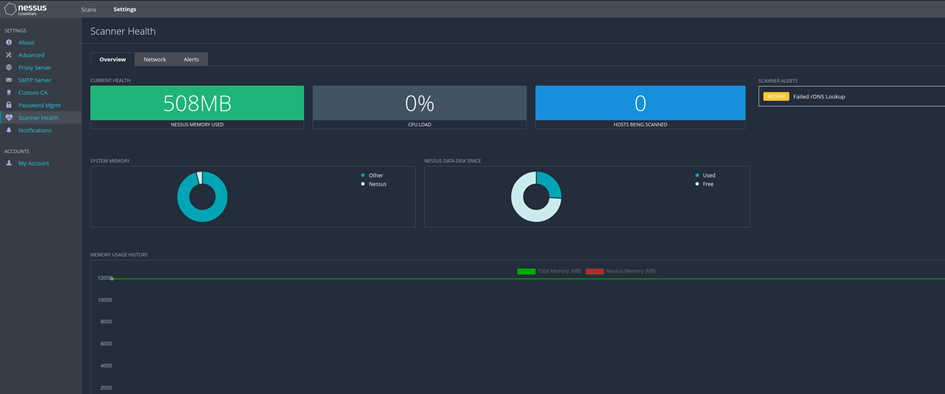
Further, you can set up SMTP-Server for mail notifications and the monitoring of the scanner itself.
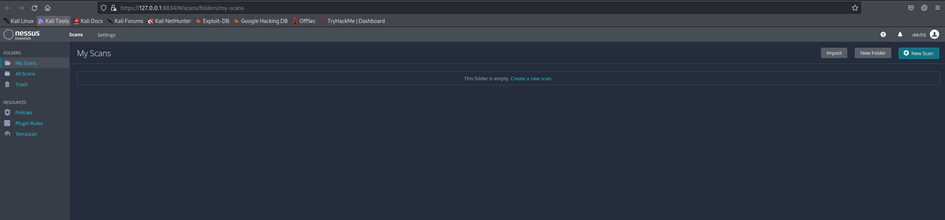
Scans
Now comes the part for which we need Nessus- scans! Here we can set up different things. You can create a folder for specific project or a couple of scans for a specific group of hosts for example.
There is also the possibility to import scans that were exported from Nessus to view the report, edit the scan or export new reports for the scan. Note: You cannot launch imported scans or update policy settings.
Probably the most important function here is to create a new scan, so let‘s create a new scan. Click on new scan, now you will the overview about all the scan-templates.
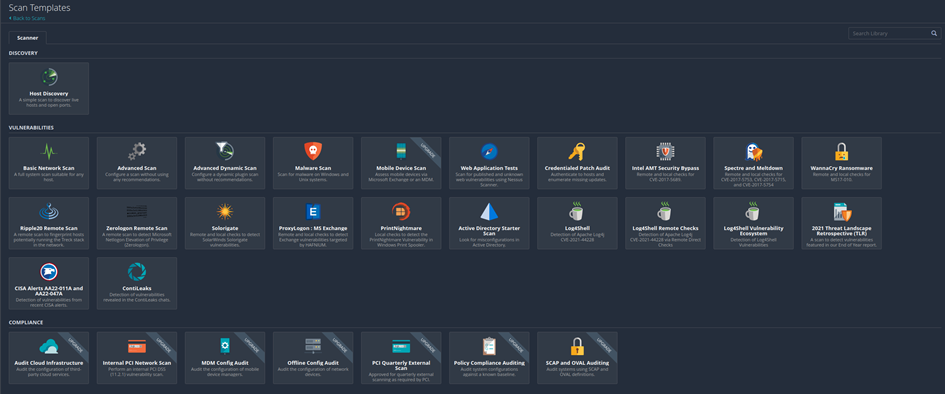
Some templates are hidden behind a paywall fort he proferssional version.
Create and run a scan
To illustrate, we will perform a basic network scan on a local VM. Choose Basic Network Scan.
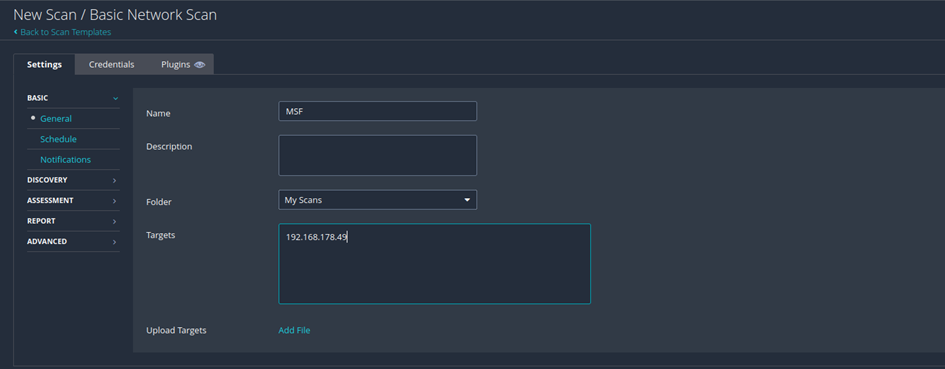
Here we fill in the needed information to run the scan. The name is not mandatory but makes it clearer if you do a lot of scans. For this example, we will scan a VM from the Metasploitable Project.
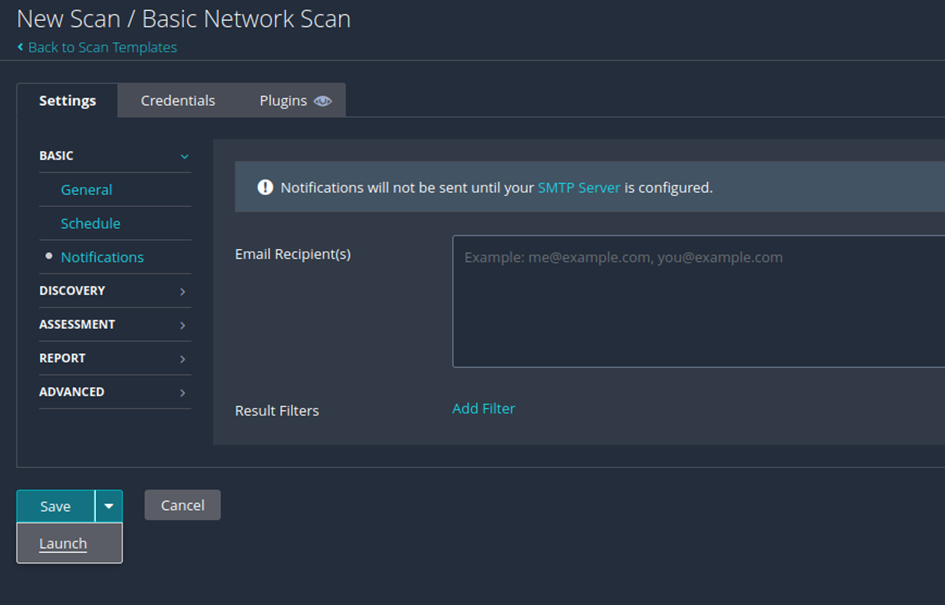
If necessary, we could also plan the scan, set up notifications, activate plugins or store access data here.
To start the scan, we click on the arrow next to save and launch the scan.
Now the scan is running and you’ll redirected tot he scan-overview. The scan take some time so take a coffee-break. ☕

After the scan is finished we can view the results in a graphical overview.

We get a detailed view about the results in the vulnerabilities tab.
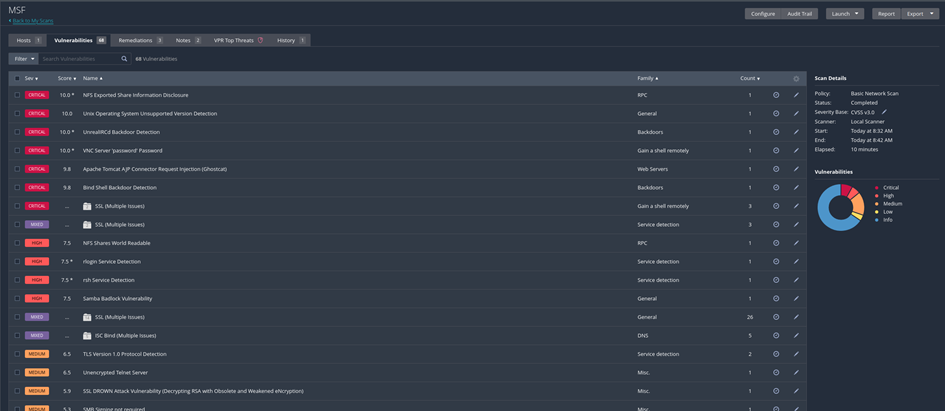
The MSF VM gives us many security gaps as a test target. You can get a very detailed view of a specific vulnerability by clicking on one in the list.
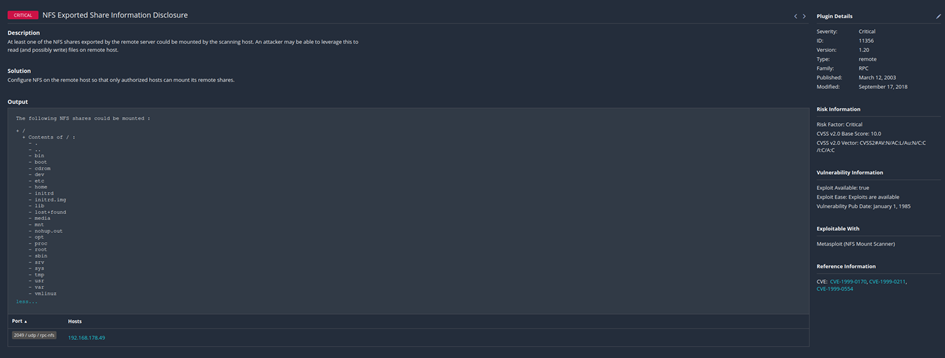
Here you get all information about the vulnerability, the CVE-Number and suggestions to fix this gap.
Export scans and create reports
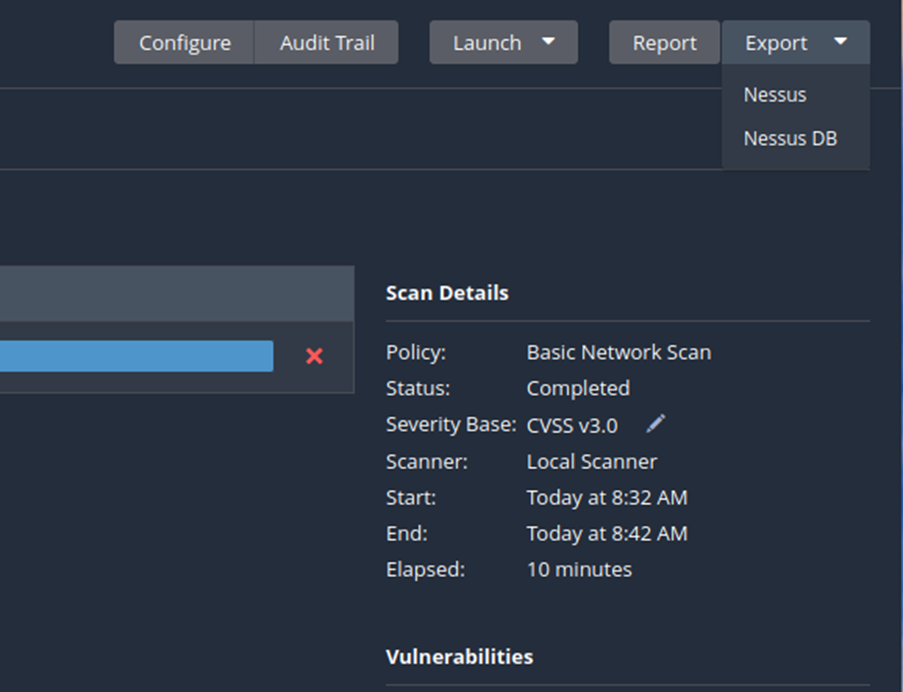
Export scans
To export the scan results you just click on the specific button on the left in the overview and choose the format.
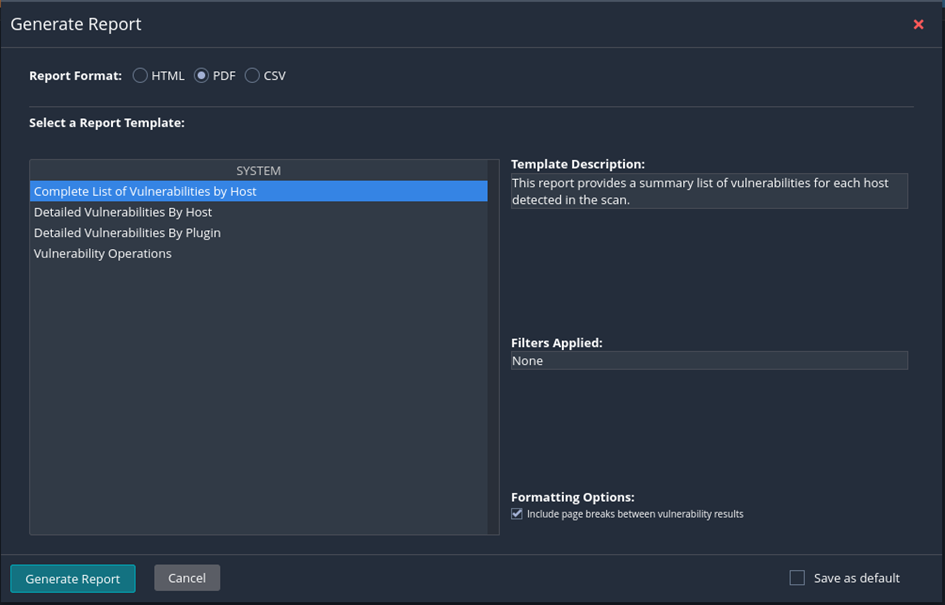
Reports
Normally you would create a report for for further processing or illustration for the customer. Click on report to start the report-„generator“.
Backup Nessus
The Nessus-CLI gives us the great function to backup our nessus installation and restore it on any system we want, even it’s a different OS. – This will not backup the scan results. But it will safe your configuration, users, scheduled scans and so forth. Backups are created with the Nessus-CLI. For example, to create a simple backup of your nessus-installation run:
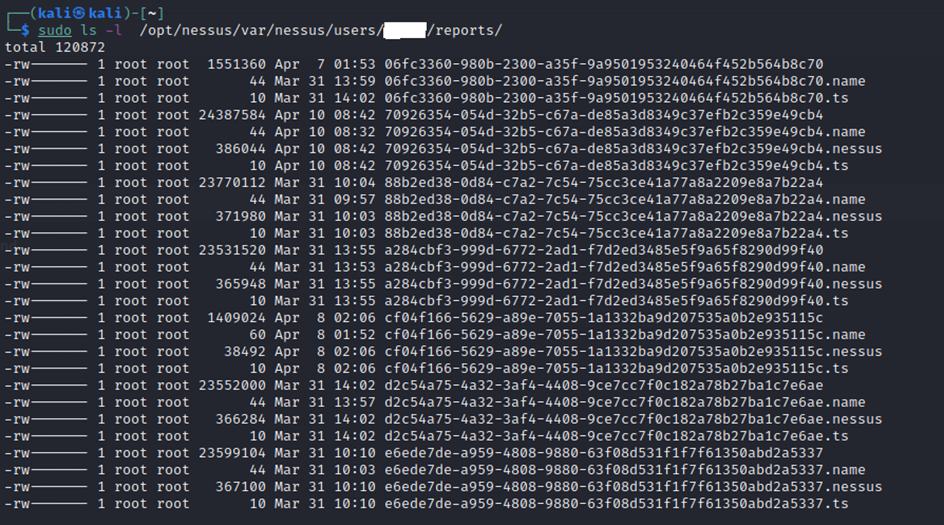
sudo /opt/Nessus/sbin/nessuscli backup --create yourbackupnameIf you want to backup your reports, you can backup the folder where the backup is stored:
/opt/nessus/var/nessus/users/USERNAME/reports/Note: You’ll need sudo privileges to access this path and backup the reports.
🖤 Did this article help you?
Buy me a coffee and support my work to keep this space 🚀 and ad-free. If you can't, share my work to reach this 📖 out to more people.