Introduction
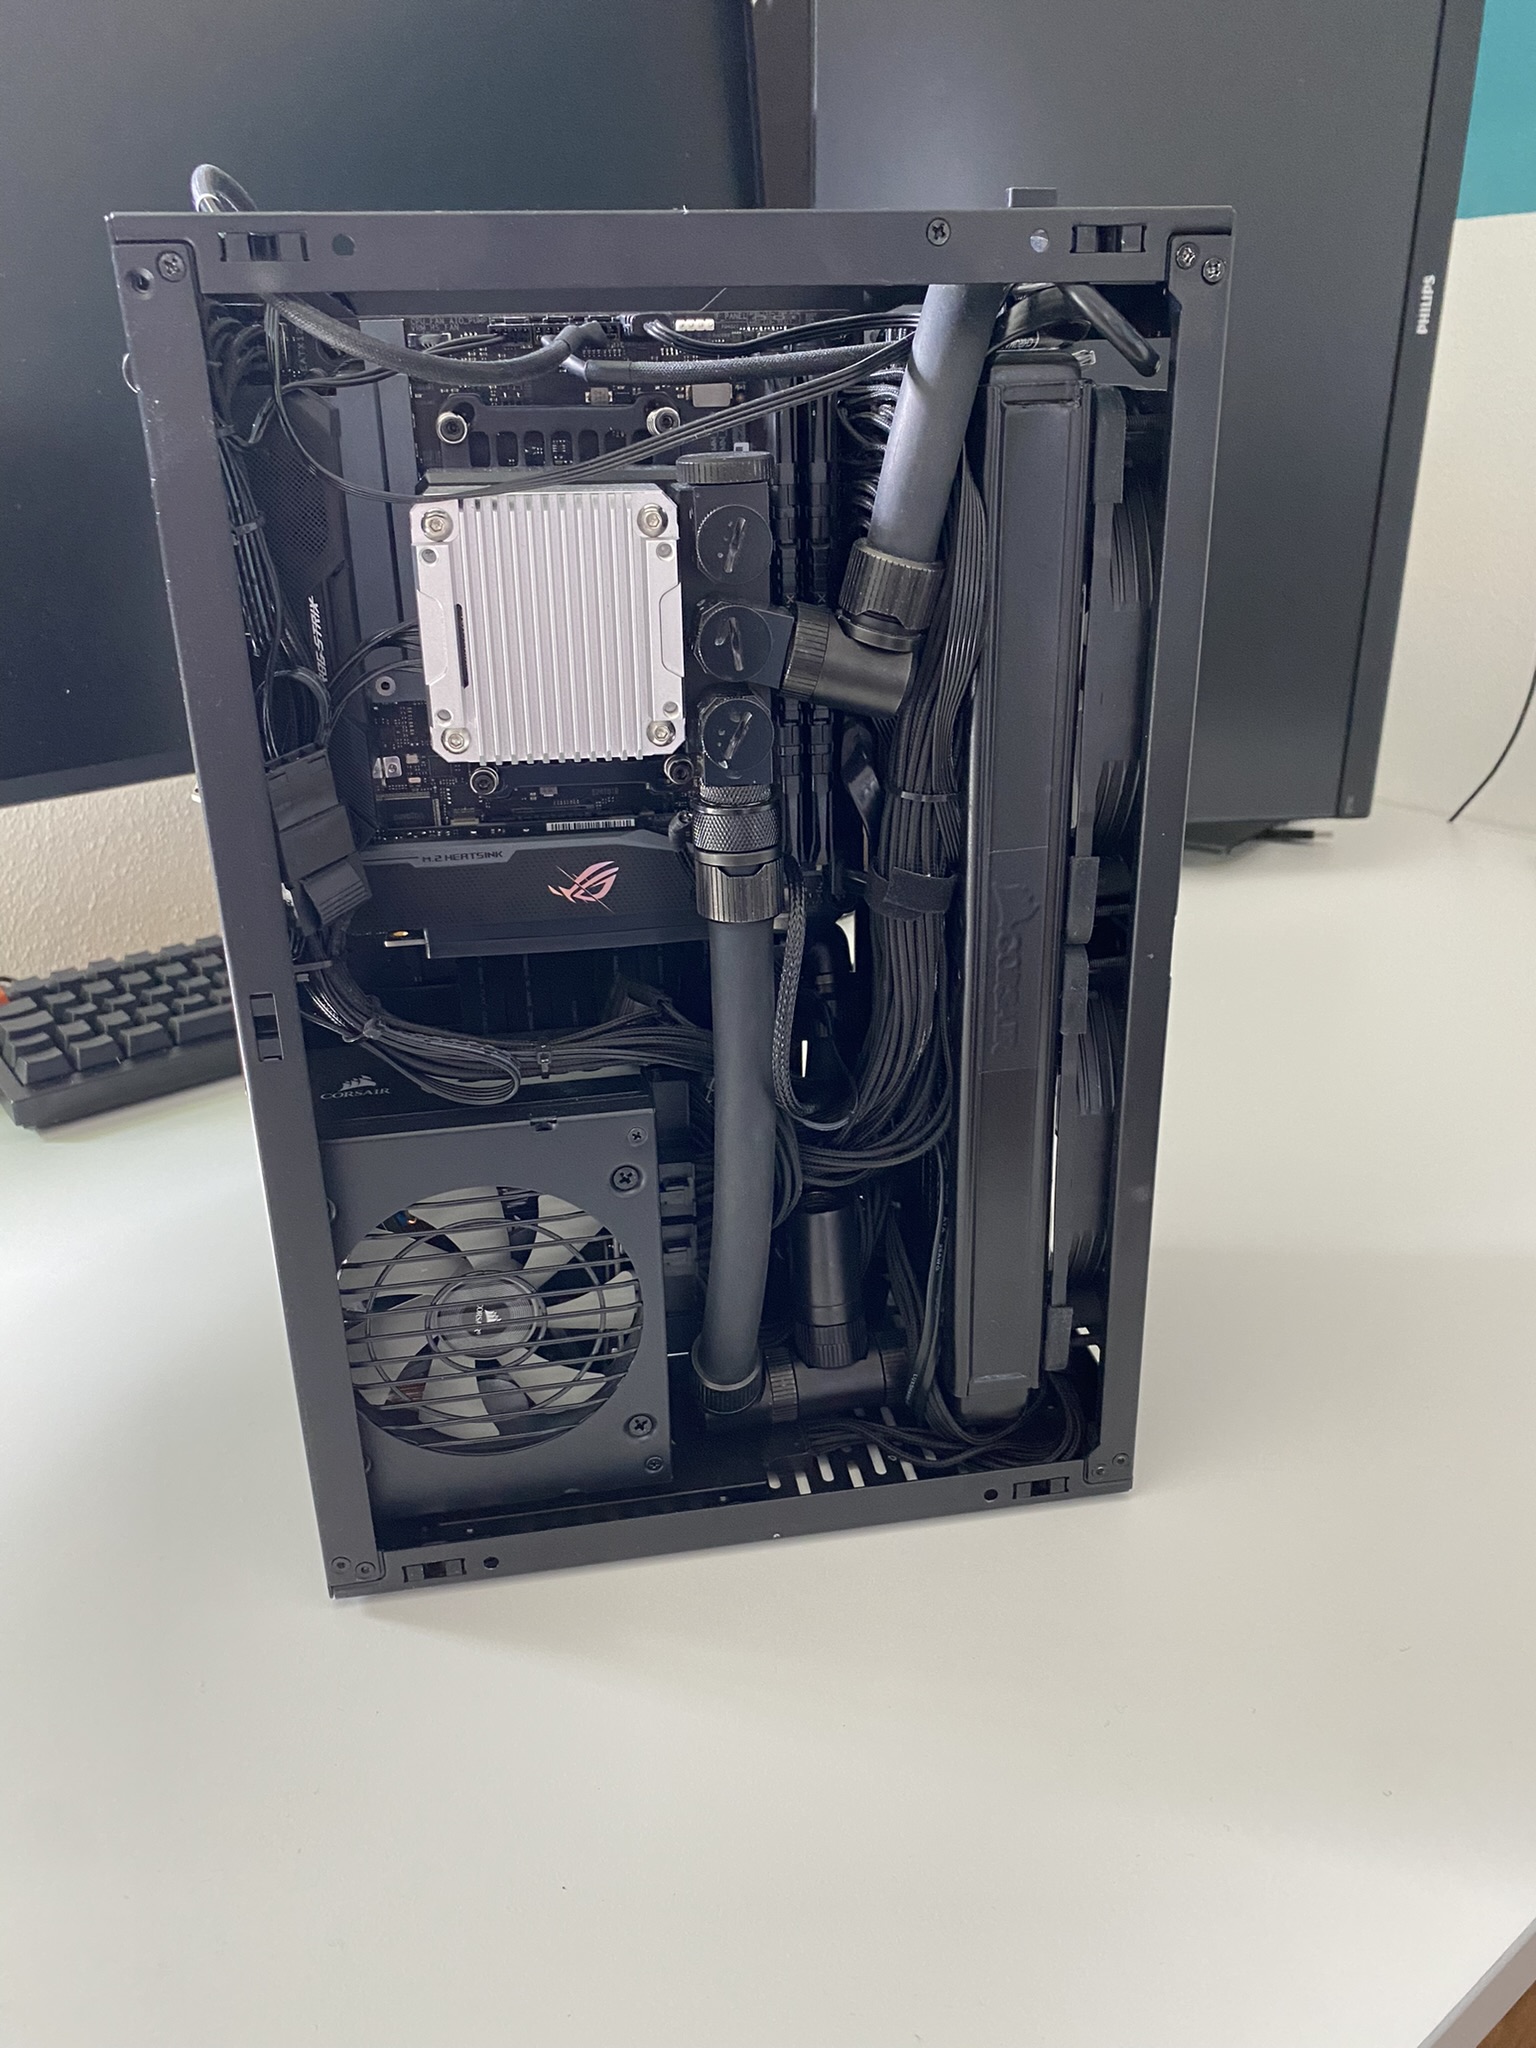
Early this year I switched my SFFB from the Cooler-Master NR200P to the SSUPD Meshlicious. First with a single 280mm Radiator for CPU and GPU. A few weeks ago I added a second radiator to reduce the water-temperature under load a bit. This worked totally fine but the space between the GPU was not enough for me. So I planed and collected the parts to move the pump and reservoir to the outside and replace the combination with a more performant cpu-cooler from EK.
At this point a big thanks to hrdwreblog who helped me to get my hands on some parts really quick.
Disassemble
Disassembling at SFFB custom-loop is a pain every time. This time I was foresighted that I integrated a drain cock so it was much easier to drain the water out of the loop.
Updating the build
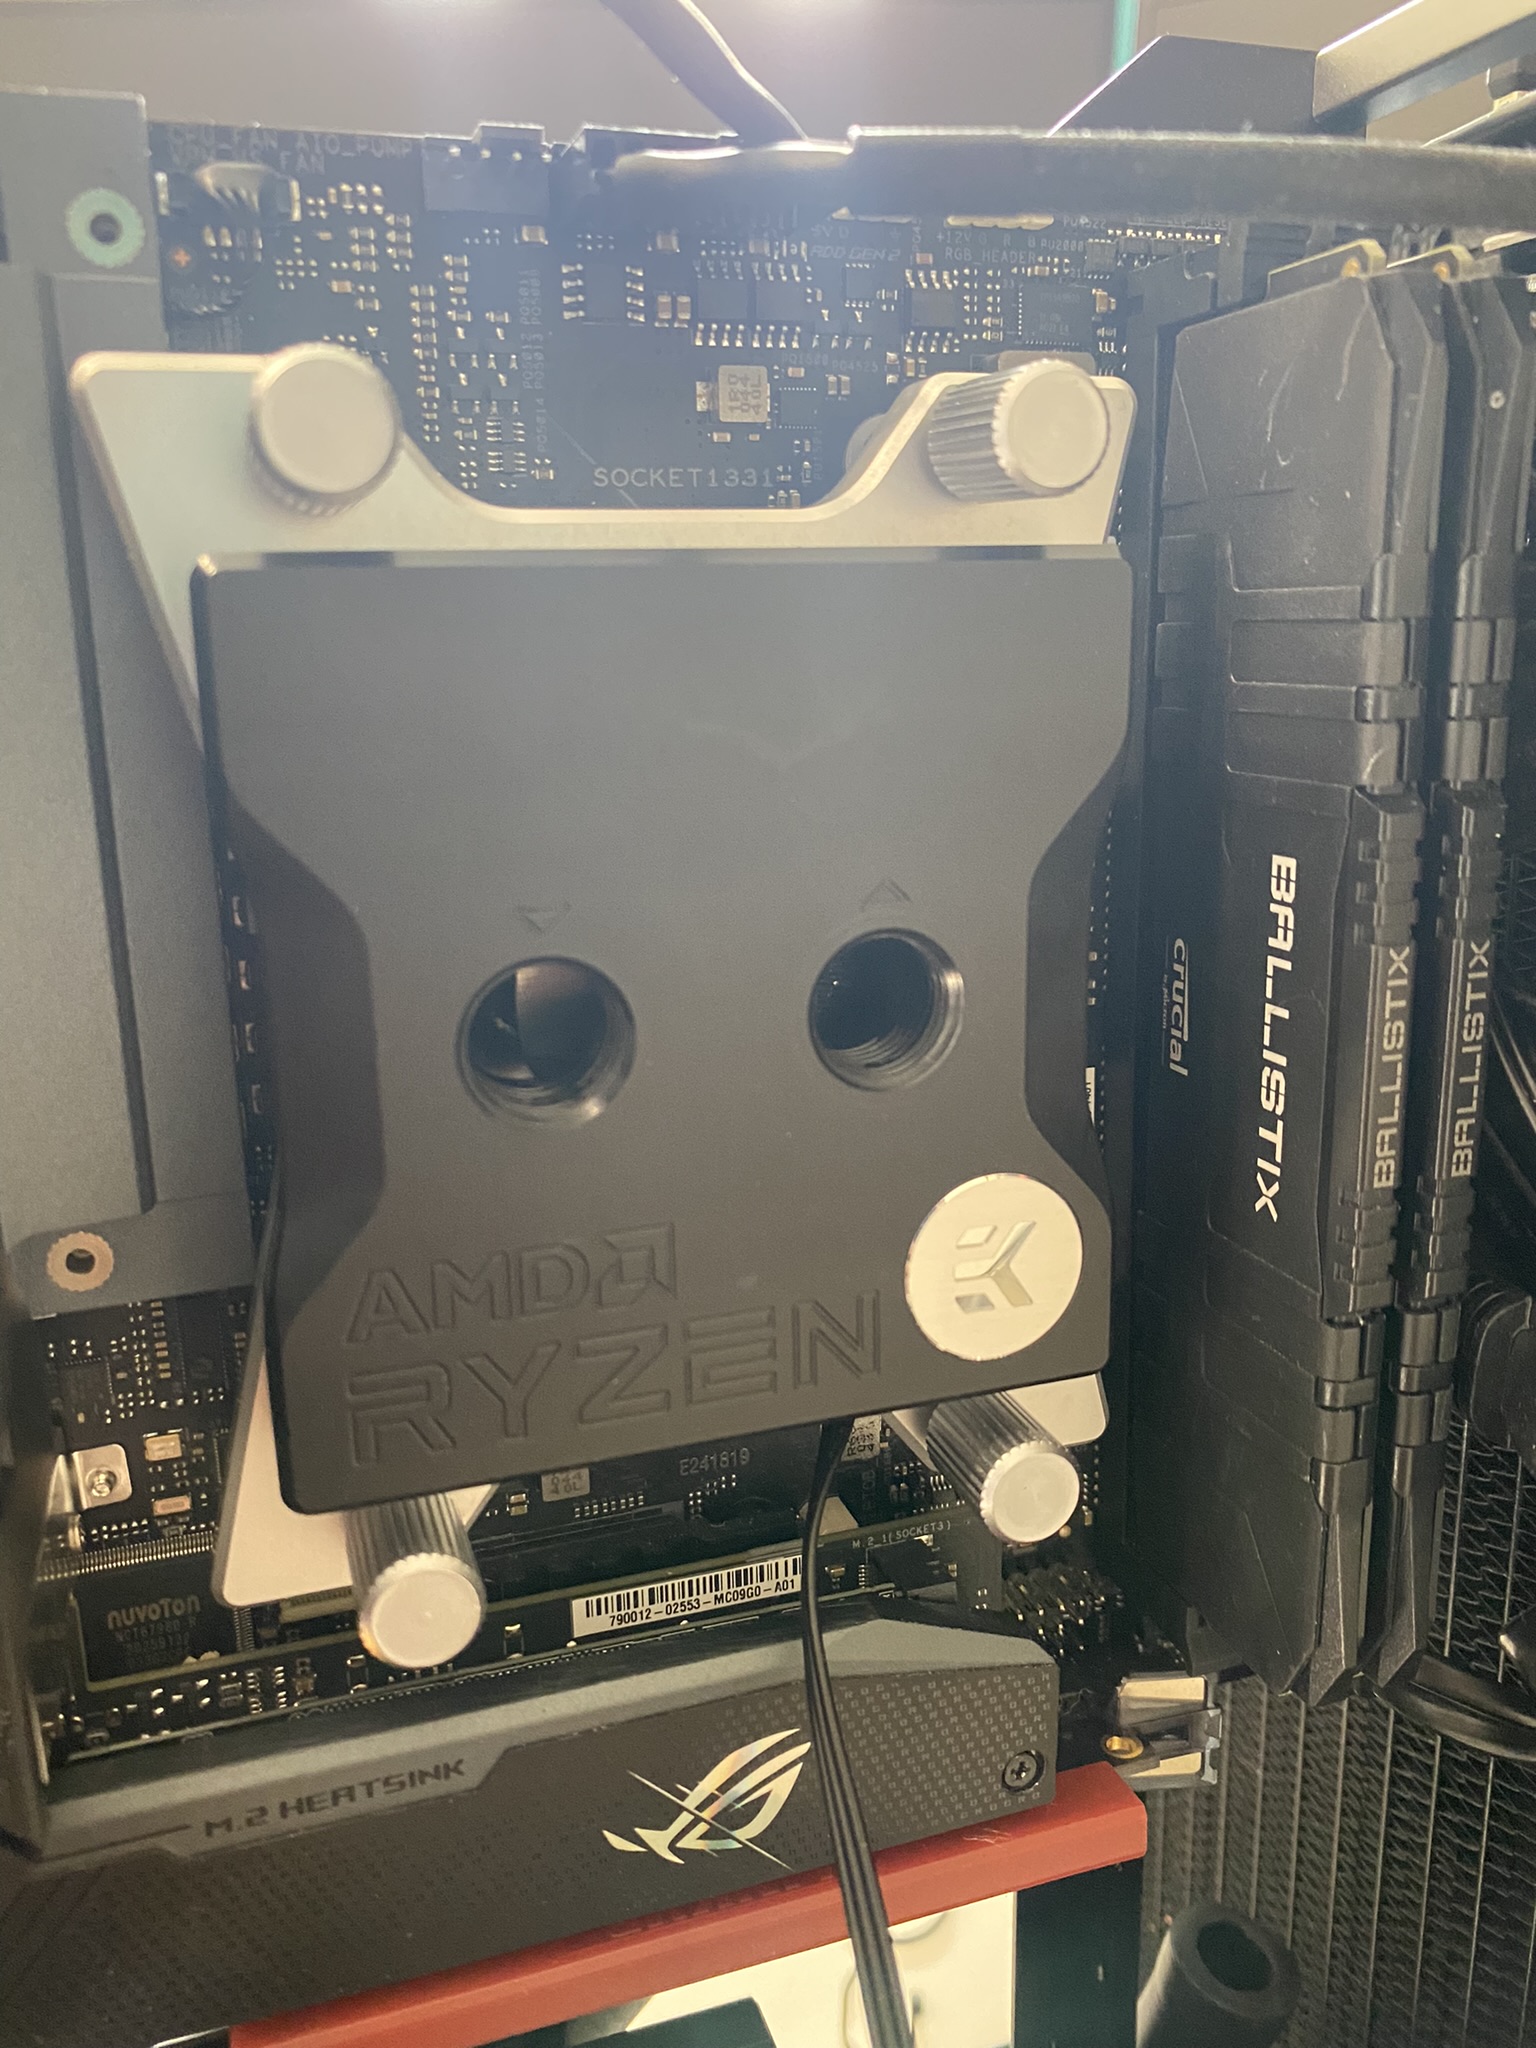
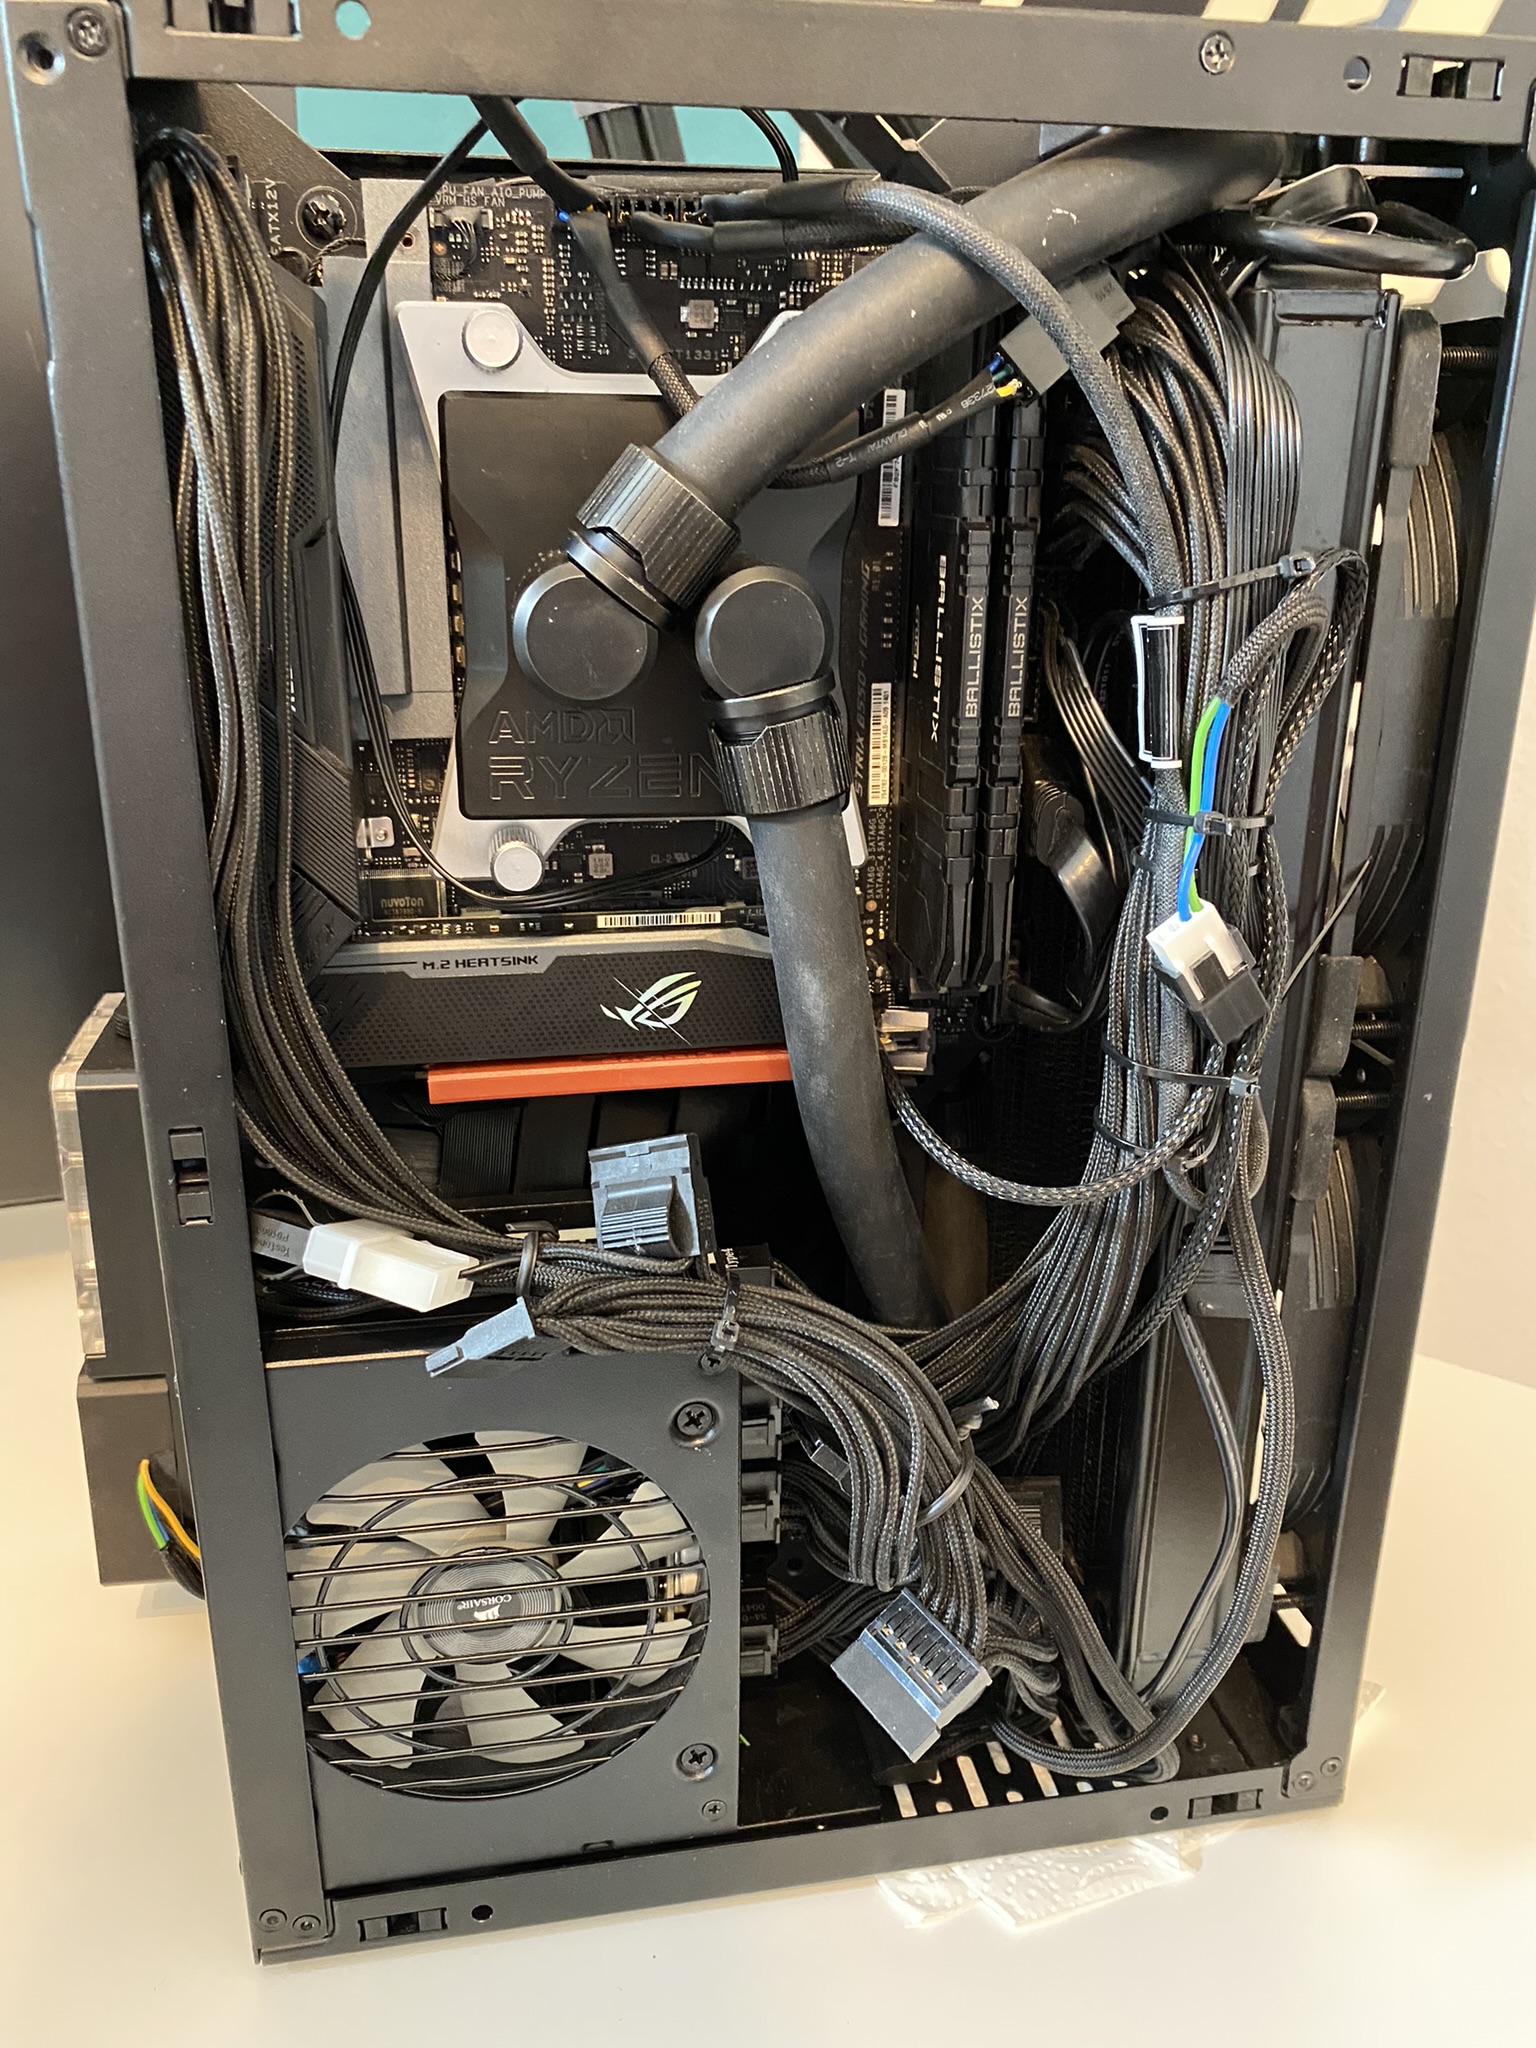
First I offset the tray for the motherboard more to the side of the CPU to get more space for the second radiator and the GPU. Here I cleaned all up, replaced the thermalpaste and installed the new EK cpu-cooler.
Now the tricky part comes after finishing the cpu-side I went to the other side and start to install two additional fans from Noctua to pull out the warm air from the second radiator. I installed them at the slots for short gpu’s. Which was just possible with some 3d printed mounting. A nice guy from the HW-Luxx forum printed this for me.

After this I started to install the pump/tank combination. Cause I use 16/10 tubes in my build it was very tight between the fittings so I had to install the fittings outside and then add the tank to the build.
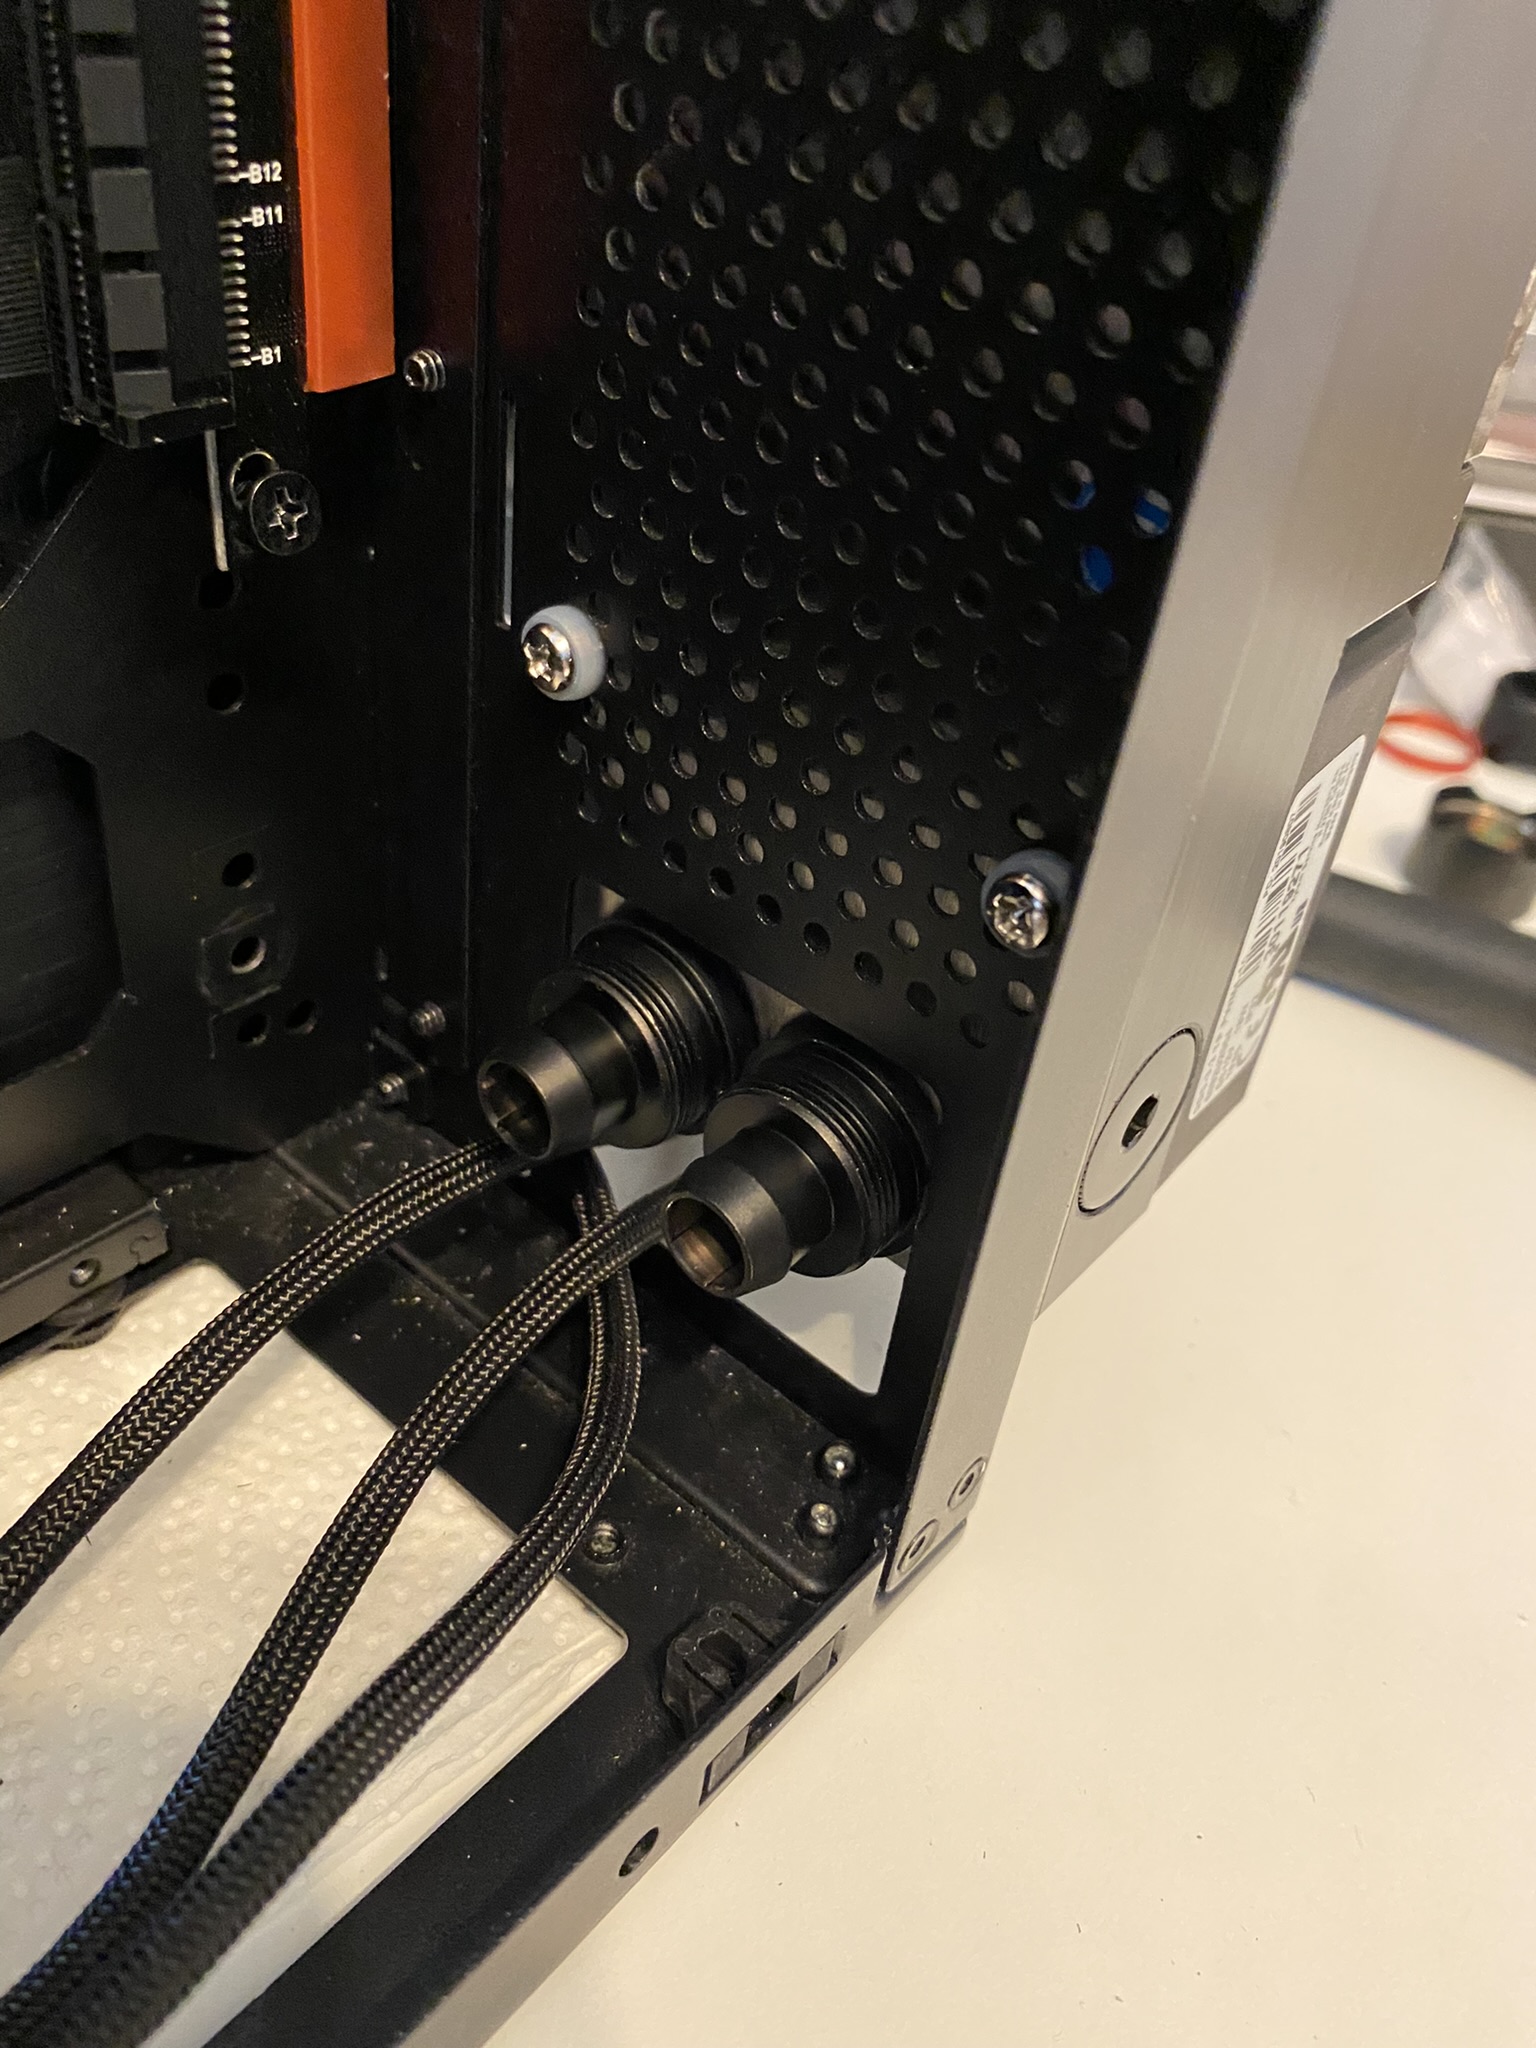
Now I was able to install the first tubes from the 280mm radiator to the tank/pump and the tube from the tank to the GPU. Atfer this I installed the GPU and routed the tubes to the second radiator. I managed this with rotary terminal from EK which I already added while I added the second radiator to the build. Now I just had to install the tubes to the cpu-block and the cycle was complete.
The last tricky part was to connect the DP and HDMI cable to the GPU but it worked I just had to take threw the small part of the cable from the inside and then install the 45° degree side.
Conclusion
I was able to reduce my CPU temperature at CB for 9 degree and get a more stable water temperature. Now spices under load at all and the temperature is not increasing so fast when I run CPU and GPU instance loads like gaming or hashcat. Further I guess it’s much better for the components that the warm air gets pulled out and not stow inside and heat everything up. At the end my 5900X and the 6900XT runs pretty cool for the size of the build.
🖤 Did this article help you?
Buy me a coffee and support my work to keep this space 🚀 and ad-free. If you can’t, share my work to reach this 📖 out to more people.